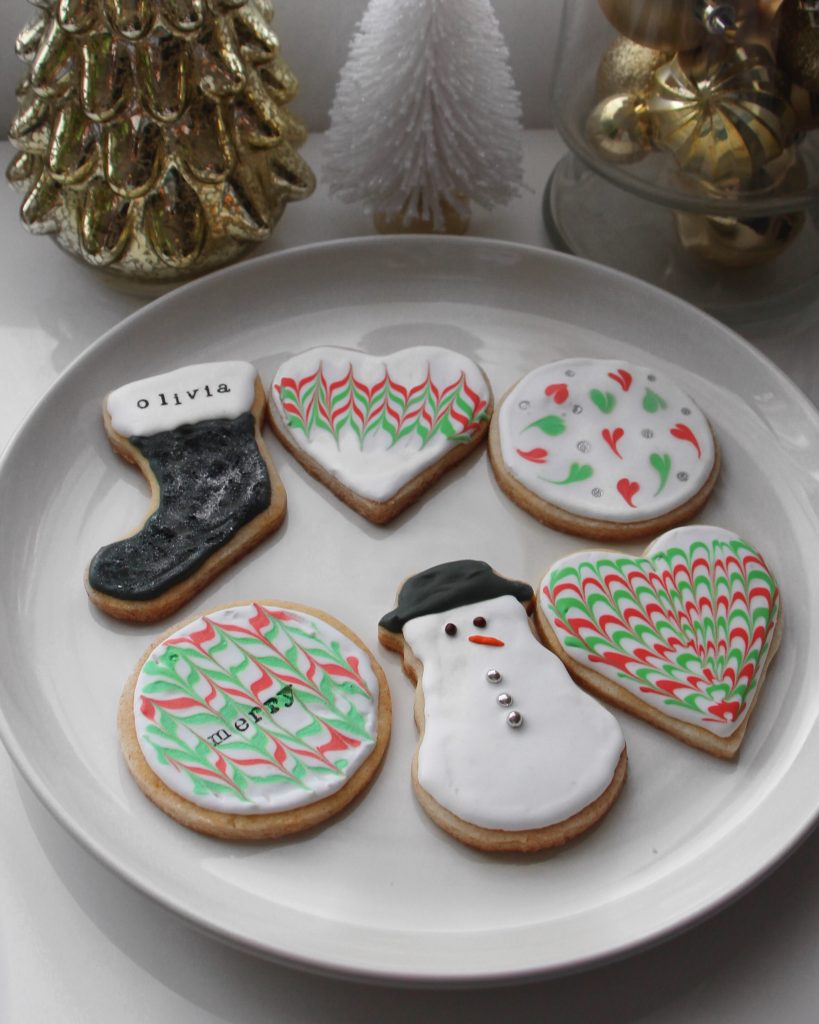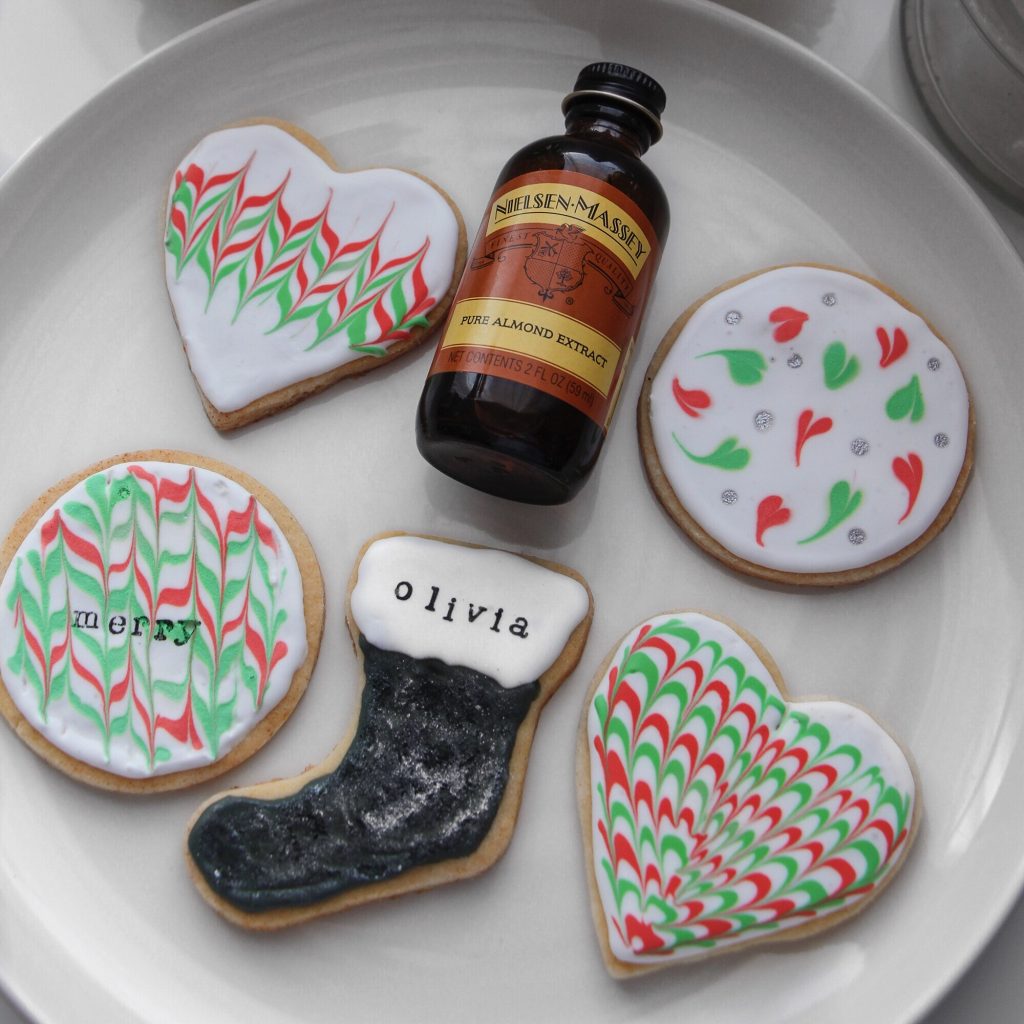
For the past few years, my go-to holiday activity has been making royal icing decorated sugar cookies. I’ve made them quite a few times and every time I learn something new or make them better! They’re a huge crowd pleaser, and are even fun to make with a crowd so you can have a cookie decorating party (or competition).
Vanilla-Almond Sugar Cookie Recipe
- 3 Cups All Purpose Flour
- 2 Teaspoons Baking Powder
- Hearty Pinch Of Salt
- 1 Cup Granulated White Sugar
- 2 Sticks of Cold Butter, cubed (I use unsalted)
- 1 Egg
- 3/4 Teaspoon Nielsen-Massey Madagascar Bourbon Pure Vanilla Extract
- 1/2 Teaspoon Nielsen-Massey Pure Almond Extract
Preheat over to 350℉. Cream the butter and sugar. Add the egg, extracts and mix. Add baking powder and salt. Gradually incorporate flour and beat until combined. Hand knead the dough because it’s crumbly. If too dry, add a super small amount of water for it to come together (1 tablespoon at a time). Roll out thick- about 1/4 inch to 3/8 inches thick and cut into whatever shapes you like. Place on parchment lined cookie sheets, freeze for 5 minutes before baking to prevent spreading, and then bake for 10-12 minutes.
Royal Icing Recipe
- 6 oz (3/4 cup) of warm water
- 5 tablespoons meringue powder
- 1 teaspoon cream of tartar
- 1 kilogram (2 1/4 lbs) powdered icing sugar
- 1/2 to 1 teaspoon of clear extract
Sift powdered sugar to prevent any clumps. In a mixer bowl with the paddle attachment pour in the warm water and meringue powder. Mix it with a whisk by hand until frothy and thickness (~30 seconds). Add cream of tartar and mix again. Add any extract (optional) and pour in all of the powdered sugar at once and mix on low for a full 10 minutes.
After you make this royal icing, you can thin it to outline and fill cookies. Learn how to thin out royal icing in this video or my Valentine’s Day Conversation Heart Cookie Video from a few years back! I recommend a ton of piping bags, piping tips (I use Wilton #1), toothpicks, and squeeze bottles on hand to help make your designs clear and look like you bought your cookies at a bakery!

My favorite ways to decorate these are by piping out lines and making marbled designs with a toothpick, using luster dust for some sparkle, and what impresses people the most…the stamped lettering! Here’s how to do it at home yourself…
Stamped lettering:
You will need:
- Black gel food coloring (I use AmeriColor: shop it on my Amazon page!)
- Stamp Pad from Michaels (optional)
- Stamps (I got mine from Michael’s! Make sure you only ever use it for food.)
- Vodka (Alcohol evaporates and does not impart any flavor)
Mix a tiny amount of vodka with black gel food coloring until it looks like ink. Pour into a foam stamp pad, or a paper towel so it isn’t too liquidy and dab the letter/stamp of choice into the ink, test it on a plate to make sure that the stamper isn’t overflowed with ink, then stamp onto dry, iced cookie WITHOUT pressing hard. I like to let the cookies dry overnight before even bothering with the stamping!
Texture (good for stockings, trees, or wreaths): Use un-thinned icing and spread onto cookies and use a fork to add texture for wreaths, christmas tree trunks, texture on “fuzzy” stockings or snow, etc.!
Marbled Designs: For the “hearts” marble design, fill the cookie and add polka dots with another color onto the wet icing. Drag a toothpick through the circle (start a little bit above the circle) and let the toothpick do all the work! The other marble effects are done by striping the cookie with alternating colors, and then dragging the toothpick through- alternate going up and down for a different effect!
Luster Dust: Mix a tiny amount of vodka with store-bought edible luster dust until it’s a paint-able consistency. It should be pretty thin with no chunks, but pigmented enough to paint or use another tool to dot on. You can paint on with a paintbrush (to be only used for baking purposes), dot on with a sponge tool or end of a paintbrush, and let dry!
Try these methods out and let me know how your cookies turn out! Of course, if this seems like all too much, you can even use pre-made dough or pre-made cookies, just make sure when baking that you freeze the cut-outs in order to prevent spreading! Tag me on instagram @oliviafrescura if you remake these, I wanna see!
**This post contains affiliate links – for more information, please read my Disclosure Policy**