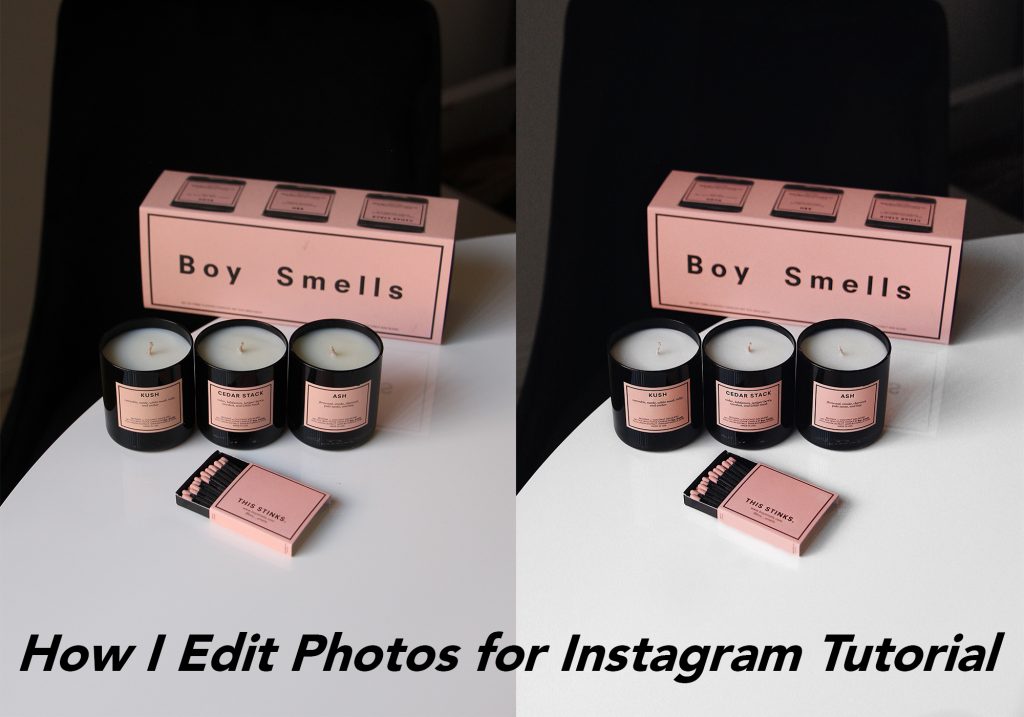
Hi everyone! Today I’m going to show you how I like to edit my beauty/lifestyle photos for Instagram and my blog. I did a blog & video on How I Edit My Instagram Photos in 2017, but I thought I was way overdue for an update! You will pull a ton of useful tips & tricks from both tutorials, so I highly recommend you watch each video to get the full editing process with before & afters. And while you’re at it, don’t forget to follow me on instagram @oliviafrescura!
![]()
- Filters: My personal favorite is A6. I use it for almost every single photo now. No matter what filter you use, don’t use it at the highest intensity!
- Sharpen: Use a little bit of sharpening to crisp up edges- it can also correct slightly out of focus details.
- Saturation: Use this to boost undersaturated images and take away over saturation. I remove a lot of saturation for the most part after I Facetune my selfies since I use a white background (heres an example), because if you don’t lower the saturation you can look a bit dark or orange (exhibit b even though I was tanned here).
- White Balance: If you shoot your photo in not the best light, you can correct any yellow/blue or green/magenta out of your photo with this tool. Be cautious of using this tool after Facetuning, as editing the coloring will affect any of the whitening you probably have done in Facetune if you edit like I do!
- Grain: A lot of people are adding grain now, and I recently started playing with it myself. I like it because it adds a bit of imperfection to photos…although I know a lot of people use it to disguise how much they Facetuned their skin. Stay woke, bitches.
- Skin Tone: This tool is a favorite of mine that I never hear anyone talking about. This is where the magic happens for me. Remember when I did an orange feed back in August? This is how I edited a lot of my photos to turn orange. The left side of the slider adds a pink/magenta/red coloring, and the right side leans more yellow/orange. Here’s an example of some roses that were pink, that I turned orange by sliding the Skin Tone tool to the right. When it comes to *actual* skin tone, if your skin looks too pink or too yellow/orange in the photo, you can neutralize it!
- Editing multiple photos? Copy & Paste your edits so the photos are edited the exact same way! Not only does it savs time, it makes your photos look cohesive.
- Exposure:
- Contrast:
![]()
- Whiten: This is the reason that Facetune is an essential for me! Use the whiten tool to whiten off-color backgrounds and make whites brighter- including teeth and the whites of your eyes when editing selfies!
- Patch: This one is great when you’re not using photoshop, because it is essentially the clone stamp tool. Use this to patch up blemishes, specs of dust or little hairs you didn’t notice
- Filters: Filters are a new addition to my editing style. I primarily use B&W Silver (under the paper section) or Expose (under the lighting section). I like how you can add and erase these filters in only select areas of the photo. I like using B&W when the whiten tool doesn’t cut it for whitening my whites and neutralizing blacks. Expose is nice when editing ultra-dark photos or lightening shadows.
- Details (not shown in video): Use this tool to highlight brand names. For selfies, I like tapping over my eyes/lashes/lips/ and sometimes brows just to make them pop!
- Smooth (not shown in video): I rarely use this tool as this is how people get their skin super smooth and fake looking. But, I like using this over the edges of my hair to get rid of frizz. I use it on my skin occasionally but extremely sparingly. You can also smooth out any distracting textures.
I hope these tips are helpful for you guys! Don’t forget to comment below if you’d like me to share a video on how I edit my selfies!
