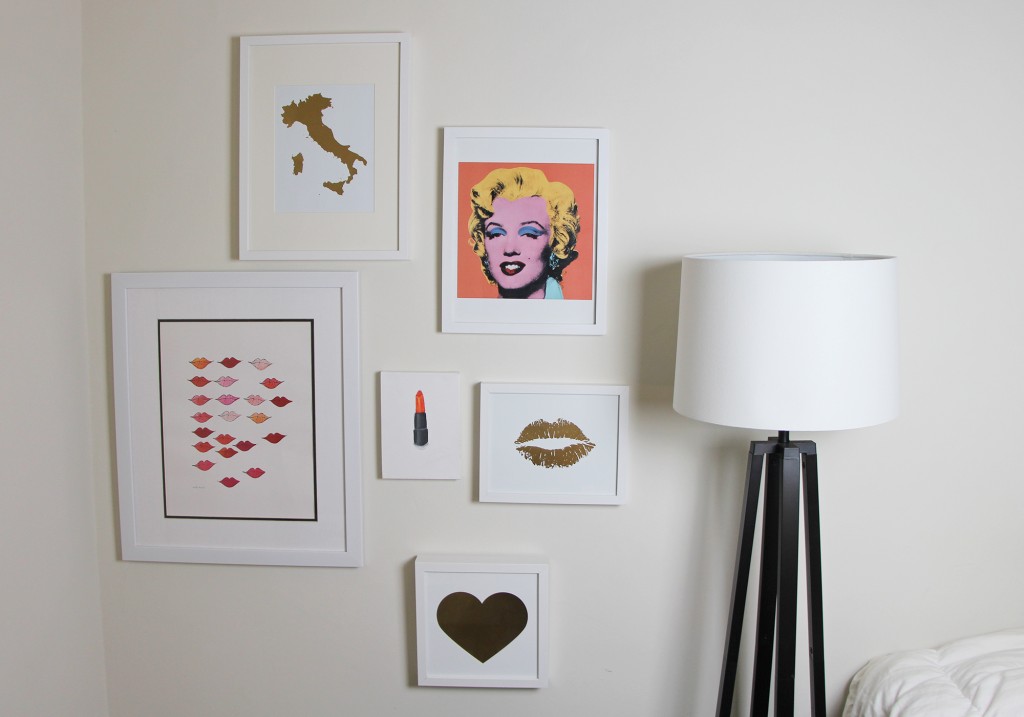
I did a blog post last year when I first made a gallery wall. But, it took me months to get the courage to try it at my apartment. All of the pieces are the same, but I’ve added an orange Marilyn Monroe print from The Andy Warhol Museum in Pittsburgh that I visited over the summer. I would really like to add more prints as time goes on (I think I need some quotes & photos!), as I think I need some variety. But, I thought I would do a quick blog tutorial on how to make your own gallery wall at home- the easy way. Keep scrolling to find out how to make your own gallery wall!
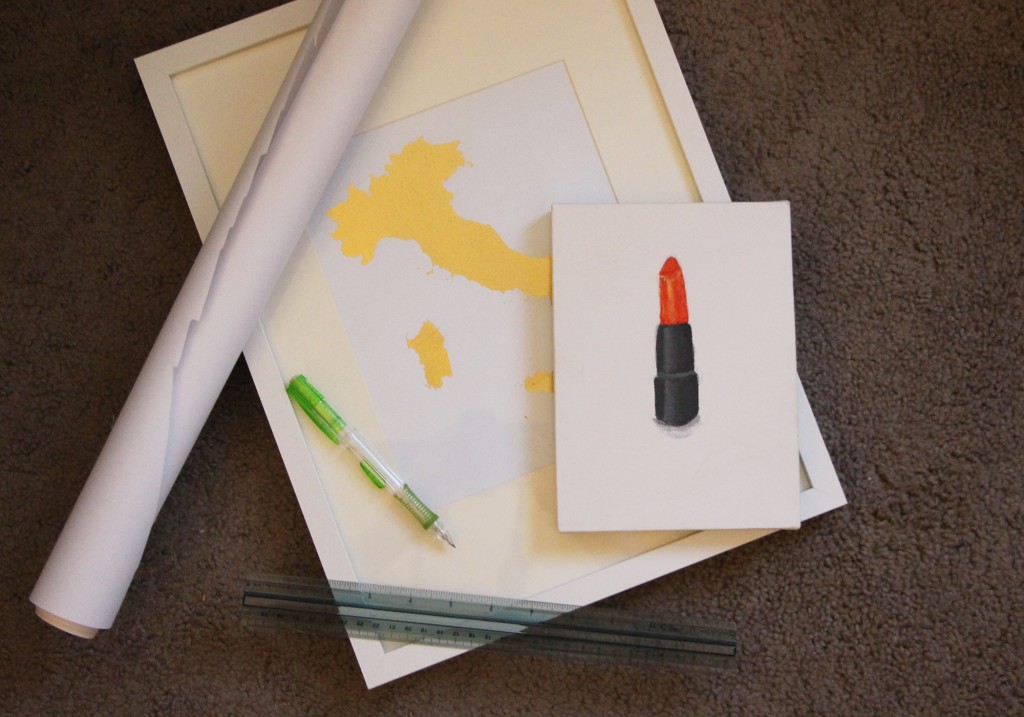
A few things you will need for the measuring portion are butcher paper (white or brown), art, a pencil, a ruler/tape measure, tape, and also scissors.
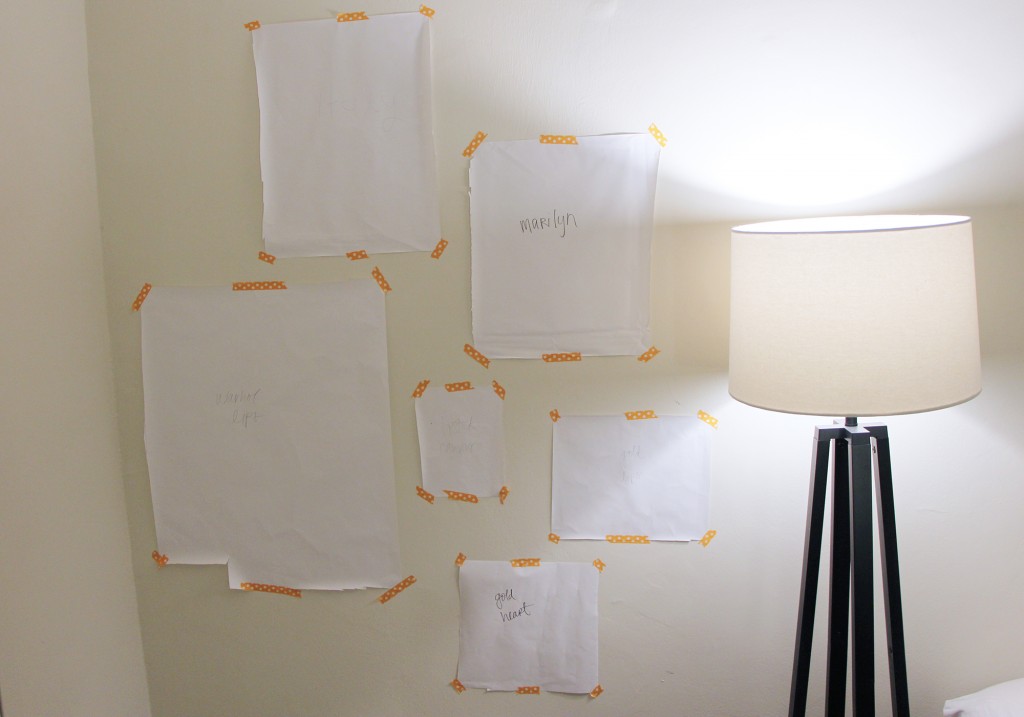
First, roughly outline all of your art in pencil on butcher paper & cut out the shapes. Write what piece of art it is on the front. This will act as our road map.
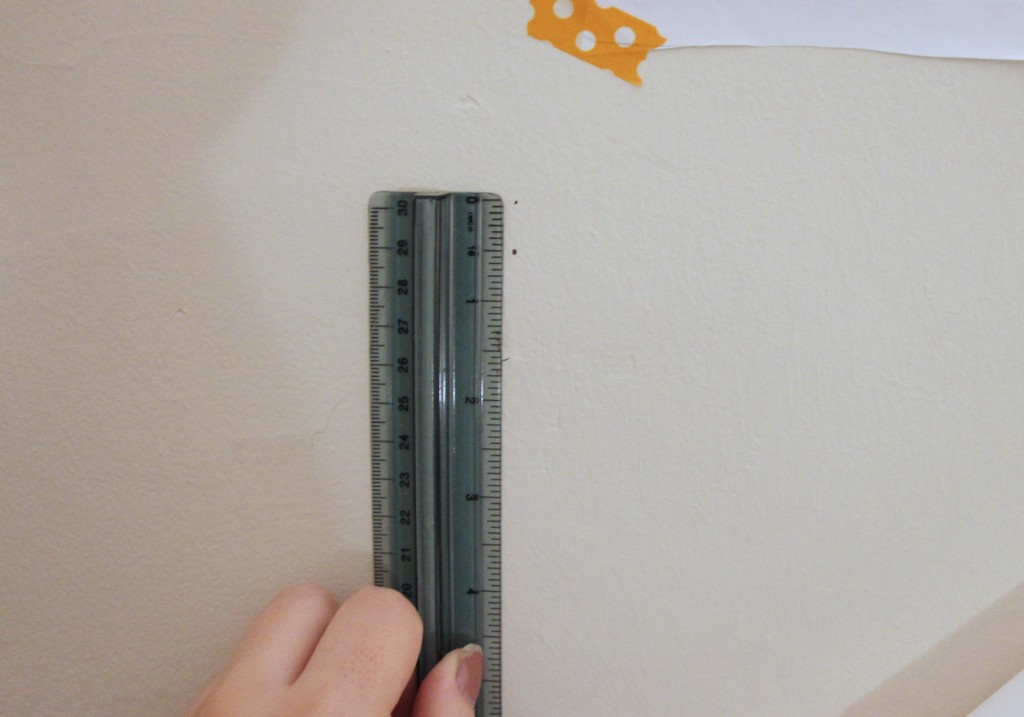
Arrange and tape up your butcher paper to act as a guideline. The best thing to do is to start with your largest piece and arrange the medium & smaller ones around it. I did everything based on how it looked- I did not measure equal lengths between each of the paintings because I like it random (and ain’t nobody got time for that). I like using washi tape to hang them because it’s easy to take off and doesn’t leave any residue. Then, take your ruler or tape measure and measure the top length of each piece of paper. Mark a dot in the middle of the length to note where the nail will go.
Because the nail needs to be a little lower in order for the painting to hang where you put them in your outline, measure a length down from the first dot and that will be where the nail goes. I did a half inch below the first dot. But, you can do an inch or so, depending on the set up of the back of your frame.
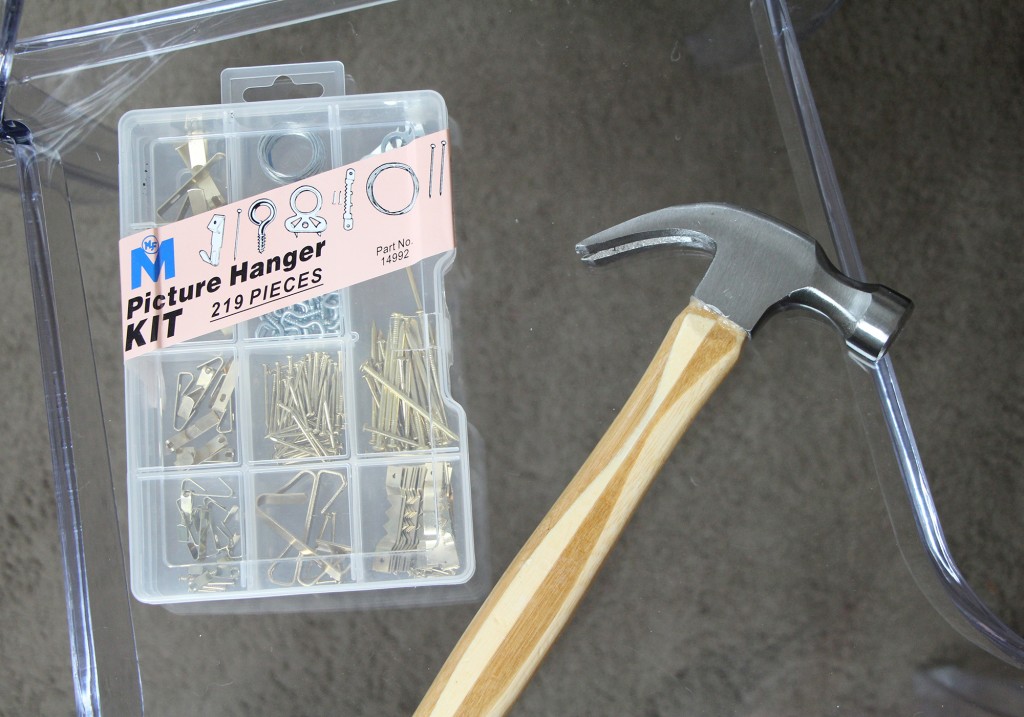
Then, all that’s left is to hammer some nails! I got a picture hanging kit with gold nails from OSH, and a hammer to do this. My apartment’s walls are plaster, so it was kind of a huge pain in the ass and lead to lots of chips in the paint. But, if you put a piece of tape where you are going to nail, it helps prevent that. I kind of had to use 2 nails for each painting, because the plaster is much more difficult to nail into than dry wall, so my nails kept bending around. But, the end result looks great.
Your final step could be to use a level or level app on your phone to make sure each art print is level. And there you have it, your first gallery wall!
I definitely want to add more to my wall- and I need to change the mat on my italy gold print as it’s an ugly cream color instead of white, but I have no clue where to find that…my next project!
[…] more framed art in my bedroom. I have a bit of a gallery wall going, as you may have seen in my DIY Gallery Wall post a few months back. Ever since studying abroad in 2014, I’ve dreamed of having a picture […]